What’s New
How Can You DIY a Machine Vice
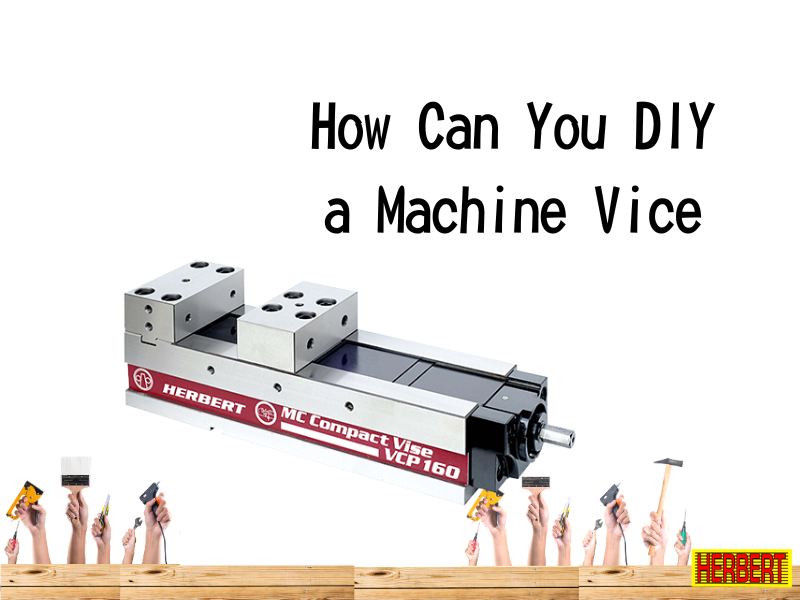
What is Machine Vice?
A machine vice is a clamp that holds a workpiece securely during machine tool operation, such as a drill press or mill.
It varies from vices used for metalworking and woodworking because it is attached to a machine tool's table rather than a workbench. To prevent the user's hands from gripping the workpiece while drilling, milling, or performing related operations, a machine vice is fastened to the drill press or milling machine's table.
A machine vice is necessary since machining procedures can be risky; by supporting the workpiece for the user, the vice lowers the risk.
Additionally, because the vise may be precisely connected with the machine's drill bit or cutter before being fixed into place, it enables the user to finish machining jobs with a superior level of precision and perfection. Metal, wood, and plastic are just a few of the materials that can be held in machine vices.
How Can You DIY a Machine Vise:
You can DIY a machine vise by following the below-mentioned steps but first of all, you need to which materials are used to DIY a machine vise.
Materials Used to DIY a Machine Vise
The following materials have been used to DIY a machine vise:
- Having a 1/4" hex drive on the end and using a ratchet to tighten it will be possible because of the 3/8"-20 thread's strength and remaining space. The movable nut will fit in a channel if you center the screw in the vise's base and pull against the end with the fixed jaw. The moving jaw, the nut, and the closed jaw are all pulled against the vise body by the clamping pressure.
- The original's base is a t-shaped piece of polished gray cast iron that is 18mm thick and 15 cm long. The arms of the t are formed into mounting lugs and measure 70mm across and 48mm in width. We recommend making a vise with slots in the sides rather than lugs using some 1/2" x 2" steel pieces.
- A 2" wide steel bar makes up both jaws. The moving jaw is around 3/4" thick and 1 5/8" long, while the fixed jaw is around 1/2" thick and 1 1/8" long.
- The screw has a 4mm chunk of 5/8" pushed onto the end of a 179mm long 1/2" drill rod. The bearing housing is made of 3/8" steel and measures roughly 1" in length by 7/8" wide, while the nut is made of 1"x1"x1" steel.
- Among the parts are a 2" 0.250" hard dowel pin, a 2" piece of 1/4" key stock, four 5/16" 8-32 pan head machine screws, one 1/2" 8-32 set screw, two 5/8" 2-56 socket head cap screws, and a thin 1/4" shaft collar with a 3/4" outside diameter.
- Make a clamping plate for the base from a big shaft collar made of 1/2" steel plate with a stepped bore. It is about 5"x4". An old circular saw's 1/8" tool steel locating plate measures about 1 1/2" long, and is a close fit to the lower part of the vise body's slot.
Procedure to DIY a Machine Vise
- Make the base first. Cold chisel and fill the lug shapes, belt sand and fill the bottom sides, and mill the top with the keyway and slot clamped to the table. This way you can adjust it.
- To make the shape extend in front of the angled face, more chiseling and filing will be necessary. Using a 60° dovetail cutter, cut the angle. Drill a pilot hole in the base and then drill the nut while it is secured to the base.
- Perhaps though it could take a while, you can build the small radius corners by drilling them first, or even by creating the moving jaw out of three pieces with a channel and two ends. To clear the top of the nut, the ends are radiused at the bottom, in the front, and the back.
- Align the key to both components and push them together after machining the fixed jaw's key groove. Then, mark the locations of the screws and drill, counterbore, and tap them for 1/4"-20 socket head cap screws.
- The clamping screw's threads are 3/8"-20 left-handed. Since measuring the pitch diameter with wires is more difficult, use the tapped hole in the nut as a gauge instead. It is probably oversized. bore the residence. After filling the housing with grease, press fit the 5/8" collar onto the end of the screw and the thrust washer.
- It is easier to mount the vise in various locations if the swivel base is made at the same time as the vise.
- Your Machine Vise is ready to go.
Final Thoughts
By following the above-mentioned procedures and acquiring the right material, you can easily DIY a machine vise at home. But, if you want to find a machine vise for industrial uses then building one in a personal capacity may not be a recommendation. To find the best quality Machine vice in Taiwan, contact HERBERT.
HERBERT is dedicated to meeting the demands of each one of its customers. As a recognized manufacturer of machine-vice tools, we will dispel any ambiguity and develop special solutions, particularly for you if you have unusual workpieces that need to be processed. Contact us right away.